


Unicorn Drawing Guide In 6 Beginner-Friendly Steps [Video + Images]
![A collage of two images depicting the process of drawing a unicorn. Image used in the “Unicorn Drawing Guide In 6 Easy Steps [Video + Images]” blog post.](https://2023.biowars.com/blog/wp-content/uploads/2022/12/unicorn-drawing-hero-image-635x325.jpg)
Time to learn how to draw a unicorn!
Did you know that unicorns are Scotland’s national animal?
The choice isn’t surprising considering the free spirit of the Scotts that perfectly matches the untamable nature of the mythical creatures.
Unicorns have been around since Mesopotamian artworks, and their popularity doesn’t waver.
Their cute, unique appearance and fun spirit are loved by people of all ages, but drawing unicorns can be hard for beginners.
We’ll show you that learning how to draw a unicorn can be both quick and easy — you’ll discover how to do it in just six steps!
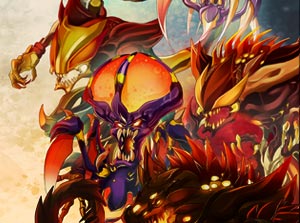
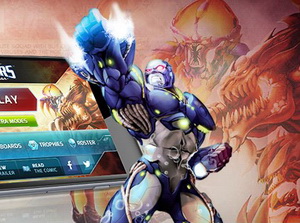
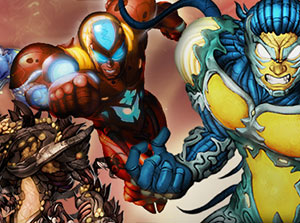
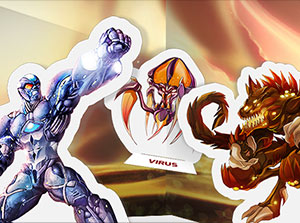
Uncover the battle raging within. Read the BIOWARS comic book for free!
Watch BIOWARS Artist’s Video On Easy Unicorn Drawing
Lead BIOWARS’ artist and professional illustrator, Gonçalo Lopes, created a video tutorial to show you how to draw a unicorn from scratch:
To make the process easier to follow for beginners, he also illustrates each step. Keep reading to see the images below where we break down the video tutorial so you can explore it at your own pace!
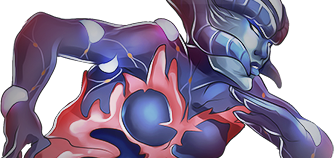
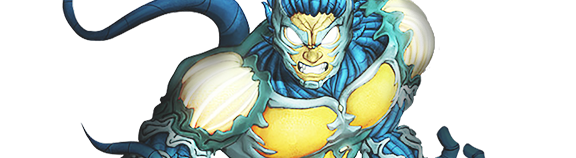
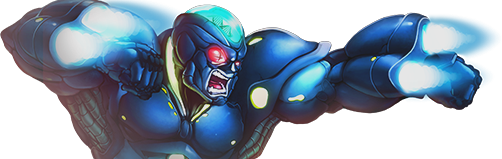
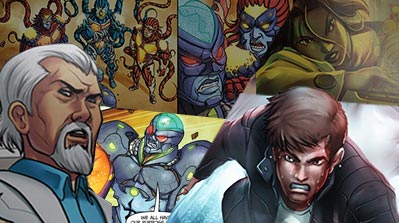
At BIOWARS, Gonçalo is in charge of creating the distinct look of the BIOWARS characters. The BIOWARRIORS are the protectors of the immune system that fight against viruses and invaders who wish to mess up the immune system and destroy their human host. The battle between the two forces occurs daily in every one of us.
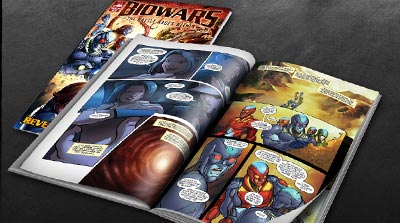
To find out how your own BIOWARRIORS work and what they do to protect your inner universe — the BIOVERSE — check out our comic book!
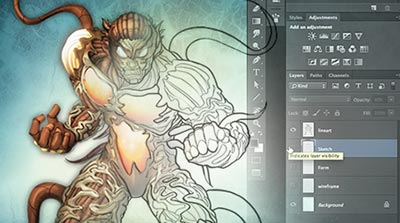
Check out how we drew the BIOWARS comic book characters!
Sketching Tools To Draw A Unicorn
The right tools can help you draw a unicorn like a pro. Here’s what you’ll need:
- An H pencil to outline
- An HB pencil to add the details and softly shade the unicorn drawing
- A 4B pencil for shading
- A kneaded eraser to erase the shapes you’re not happy with
- Sketch paper with micro-perforations because it allows you to easily draw on it and apply corrections to your drawing
These are just recommendations — you can use whatever pencil, eraser and paper you’re most comfortable with!
Follow us on Instagram for more drawing tips and the latest BIOWARS updates!
How To Draw A Unicorn In 6 Steps
The easiest way to draw a unicorn is to sketch its body piece by piece by using geometrical shapes and then connect the elements into a cohesive whole.
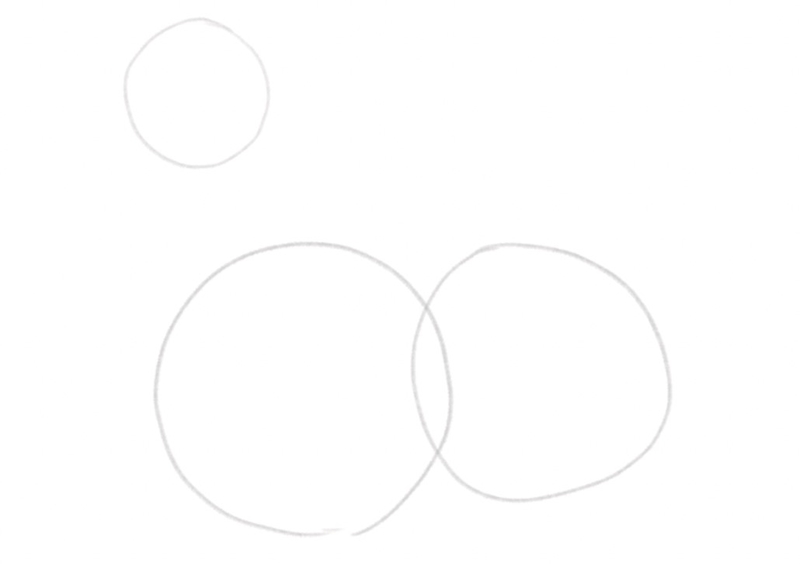
1. Position The Head
Recommended toils: H pencil
First up, let’s outline the unicorn’s head.
To do that, draw a medium-sized circle in the upper half of your paper, but make sure to leave enough room for the horn and the mane:

Use circles to outline the unicorn’s body.
2. Add The Chest, Back And Muzzle
Recommended toils: H pencil
Next, let’s add one more circle below the head, but make this one approximately four times larger than the first circle.
This is where the unicorn’s chest will be.
Then, draw one more large circle for the back and make it overlap with the chest outline, like so:
Make the unicorn’s chest and back several times larger than its head.
For the unicorn’s muzzle, draw a small circle and place it next to the head on the left:
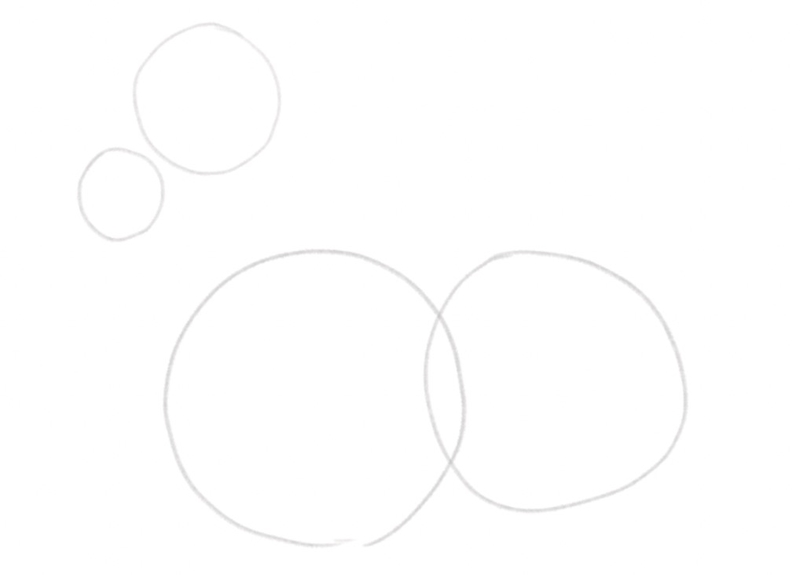
Drawing geometrical shapes will help you create a proportional unicorn drawing.
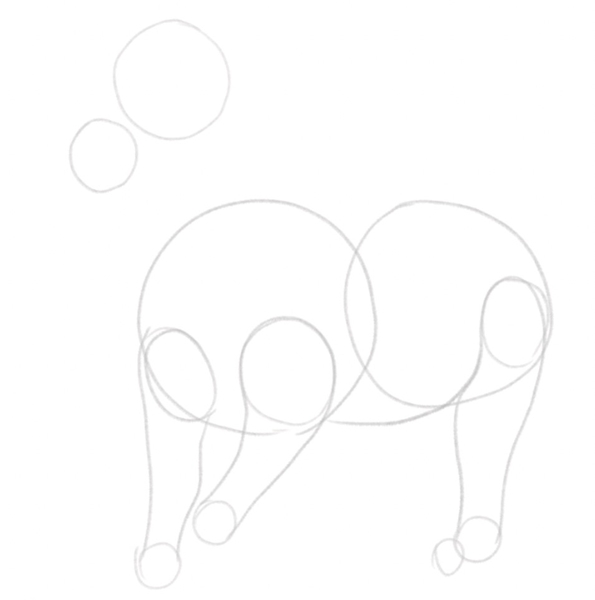
3. Position The Legs
Recommended tools: H pencil
To add the unicorn’s legs, let’s draw two small circles within the chest outline and one small circle within the outline for the back.
Then, add four super small circles below the chest and the back. Place the circles at the front diagonally; then, make sure that the circles in the back are glued to each other, like this:

The base for the unicorn’s body is ready!
3. Outline The Unicorn’s Body
Recommended tool: H pencil
Now that all the basic elements are in place, it’s time to connect them to create the outline of the unicorn’s body.
First up, let’s connect the two largest circles to form the belly.
Then, connect the circles you drew for the legs, like this:
Time to outline the unicorn’s body!
Next, let’s outline the unicorn’s head.
Connect the top side of the muzzle and the head.
Then, add a tiny circle in the middle of the head; that’s where the unicorn’s eye will be.
Below the eye, sketch an oval shape for the unicorn’s cheek and connect it with the muzzle.
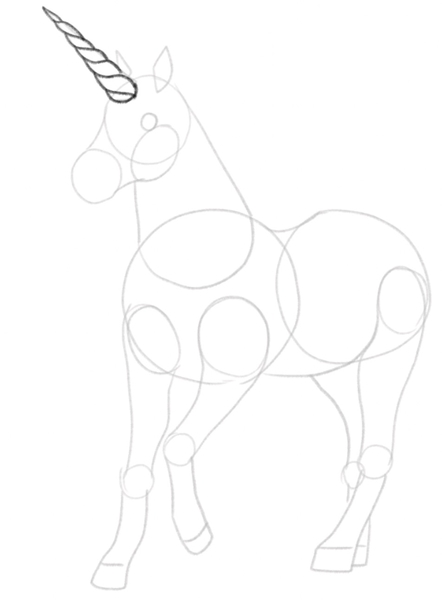
At the top of the head, add a horn and rhombus-shaped ears, like so:
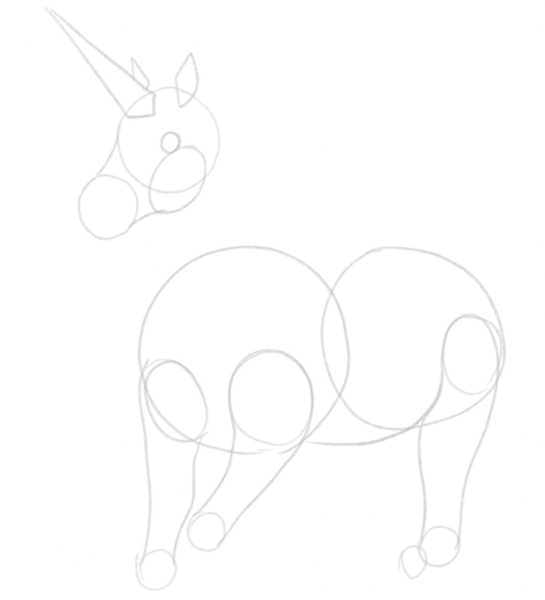
The unicorn’s body is slowly taking shape!
Now’s the time to connect the unicorn’s upper and lower body.
Draw a vertical line from its cheek and connect it with the unicorn’s chest.
Then, extend that line across the chest and connect it with the back of the unicorn’s head.
Oh, and don’t forget to connect the top side of the two large circles for the chest and back to form the unicorn’s backside:
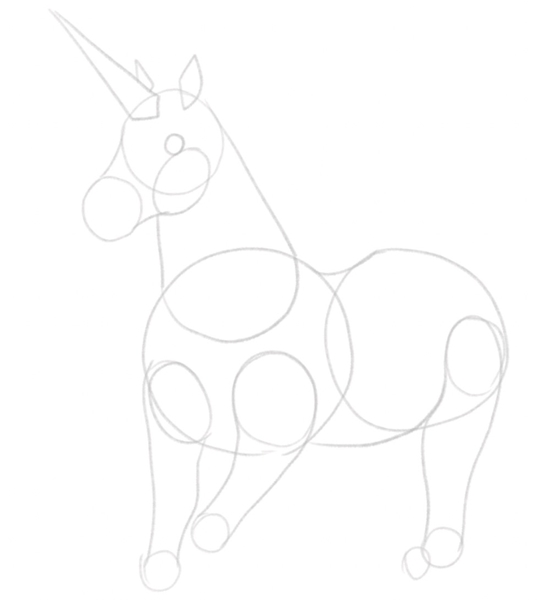
The outline is almost done!
The last step to outlining the unicorn’s body is to finalize its legs.
Add the hooves at the front and the back, and sketch the hind right leg that peeks in the back:
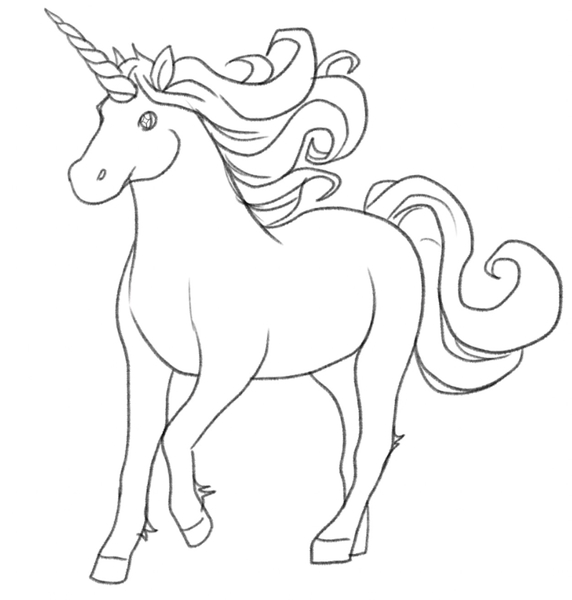
The outline of the unicorn’s body is finished!
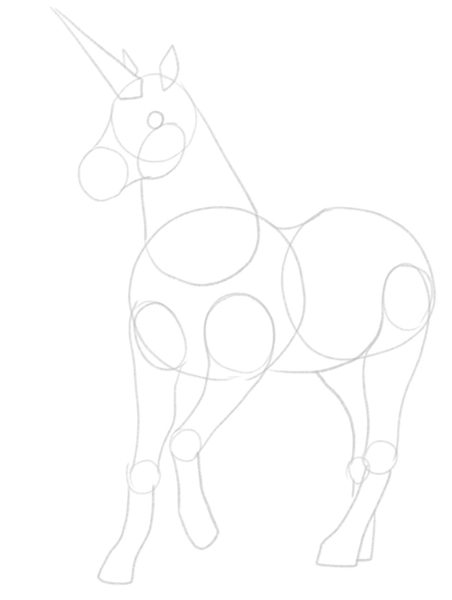
5. Finalize Your Sketch And Add The Details
Recommended tool: HB pencil
Now’s the time to add the details to the sketch and connect all the parts into a cohesive unicorn drawing.
Let’s start with the horn.
We want to make it spiral; to achieve that, draw short diagonal lines across the horn and make sure that the edges aren’t too sharp, like this:
Unicorns are almost always depicted with spiral horns.
Go over the ears, the eye, the muzzle and the cheek to make them look like one.
Then, enhance the outer lines of the neck, like so:
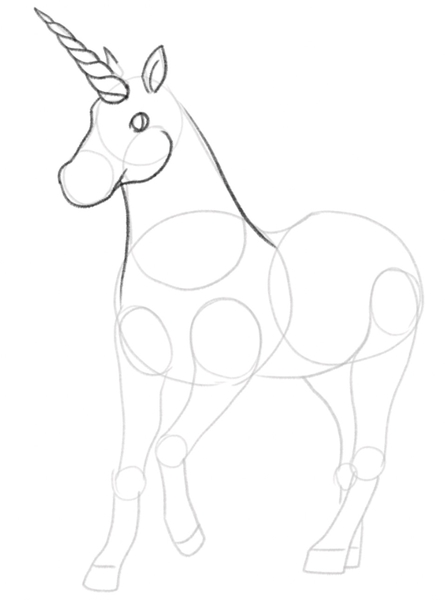
Continue enhancing the lines.
Continue to go over the lines to make them more pronounced, but skip the back of the head. This is where we’ll add the mane soon!
The basic sketch of the unicorn’s body is ready!
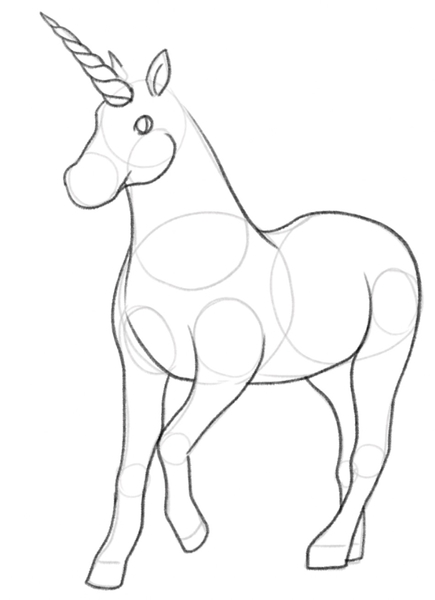
Next up, let’s add a tiny nostril in the middle of the unicorn’s muzzle.
Now, we mustn’t forget about the unicorn’s tale.
To draw it, add several wavy lines in the back. Make sure to leave some space between the lines so that the tail looks voluminous, like so:
Look at this majestic creature!
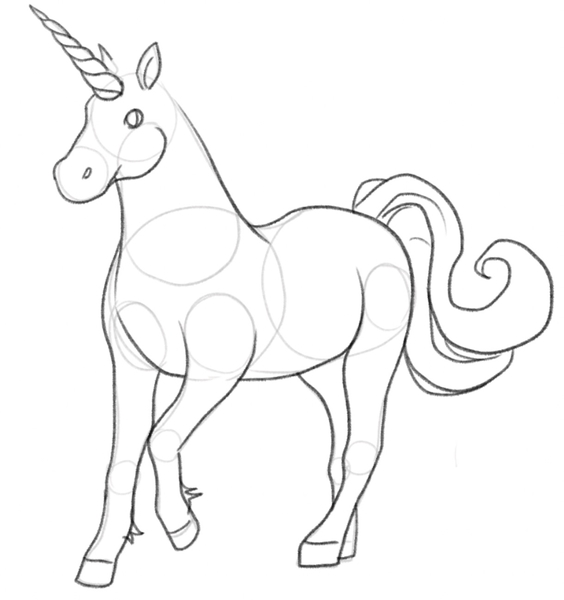
Once the tale is in its place, let’s add the majestic mane!
Draw some hairs around the unicorn’s ears and continue drawing them along its neck.
Add long, wavy, luscious locks and extend them toward the tale so that it looks like the unicorn is running:

The rich mane is an indispensable part of every unicorn drawing.
6. Remove The Guidelines And Shade The Unicorn
Recommended tools: HB and 4B pencils, kneaded eraser
Before you start shading the unicorn, grab your eraser and get rid of the guidelines that no longer serve you:
When erasing the guidelines, be careful not to mess up the sketch.
To complete the unicorn’s magical look, add tiny stars around its horn and inside its eye:

Now, that’s a truly magical look!
The final step to unicorn drawing is to shade your artwork!
Use the combination of HB and 4B pencils to create several shades of grey,
Make the hooves, the hind right leg and the ground beneath the unicorn darker than the rest of the sketch.
Pay attention to the mane and tail, and make the locks’ underside darker than the top:
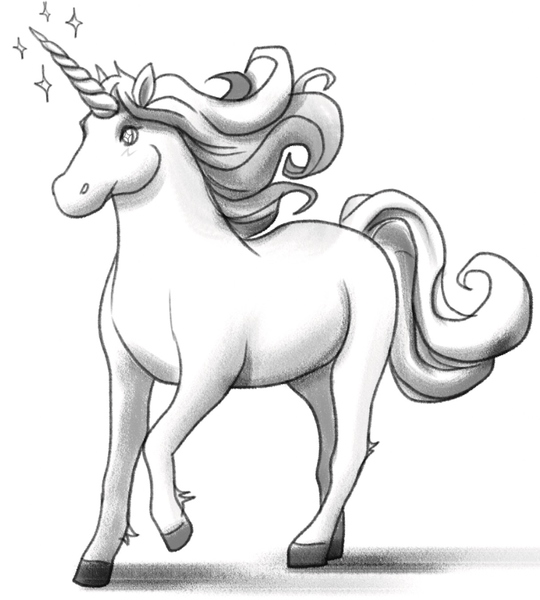
Your unicorn drawing is now finished!
Finished Your Unicorn Drawing? Try These Next!
Don’t let the magic end here and continue to learn how to draw!
Perfect your drawing skills with more of our how-to tutorials, including:
- How to draw a cow
- How to draw a fox
- How to draw a penguin
- How to draw a dolphin
- How to draw a bat
- How to draw a panda
- How to draw a butterfly
- How to draw a wolf
- How to draw a bunny
- How to draw a horse
- How to draw a cat
- How to draw a dog
- How to draw a deer
- How to draw an elephant
Follow our YouTube channel for more art tutorials!
A Recap On How To Draw A Unicorn
When you practice how to draw a unicorn, the most important thing is to go slow and draw parts of its body one by one.
Geometrical shapes are your friends, so use circles to position the unicorn’s body, starting from the head.
Then, move on to the chest and back, add the muzzle, legs, and neck, and start adding the details such as the unicorn’s recognizable horn.
Once all the elements are in place, connect them into a cohesive whole and use your eraser to remove the guidelines that no longer serve you.
Last but not least, shade the drawing to bring your unicorn to life and give it more dimension!
Once your unicorn drawing is ready, send it over to us — we’d love to see it! And let us know in the comments below which tutorial you’d like to see us cover next!