


Deer Drawing Guide: 7 Steps For Beginners [Video + Images]
![A custom image showing a the finished drawing of a deer. Image used in the “Deer Drawing Guide: 8 Steps For Beginners [Video + Images]” blog post.](https://2023.biowars.com/blog/wp-content/uploads/2023/04/deer-drawing-hero-image-635x503.jpg)
Time to learn how to draw a deer!
Did you know that deer have 310-degree vision?
These majestic animals have their eyes placed on the side of their head, which allows them to have a much wider field view than humans. (For comparison, us humans have an almost 180-degree view).
Luckily, you don’t need a deer’s incredible vision to bring this animal to life on drawing paper — you just need good guidance and someone to explain the steps to easy deer drawing to you.
In this article, we’ll share step-by-step instructions on deer drawing, as well as some tips and tricks to help you easily sketch this beloved woodland creature on your own. So, grab your pencils and paper, and let’s get started!
Watch BIOWARS Artist’s Video On Easy Deer Drawing
The lead comic book artist behind BIOWARS — a comic book about the battle between the immune system and invaders attacking it — created an easy-to-follow video guide to show you how to draw a deer:
If you prefer to look at images and draw, keep reading to discover visuals for every step of the deer drawing.
Uncover the battle raging within. Read the BIOWARS comic book!
Sketching Tools For Simple Deer Drawing
Tools that might be of help for your deer drawing include:
- An H pencil: These pencils are excellent for outlining because they have a hard lead that leaves a light trace on the paper. So, in case your pencil strokes don’t go as planned, you can easily erase thin and light lines.
- An HB pencil: To softly shade your sketch and add details to it, we recommend using an HB pencil because it has a medium-hard lead that creates light grey strokes.
- A 4B pencil: The soft and dark lead of a 4B pencil will allow you to shade your drawing with dark grey and almost black hues.
- A kneaded eraser: You can easily change the shape of a kneaded eraser and adjust its size depending on the shapes you want to erase.
- Lightly textured sketch paper: This paper’s soft surface is perfect for beginners because your pencil can easily glide over it.
You don’t *have* to use these tools.
Even the BIOWARS lead artist doesn’t use all of them in the video.
It’s perfectly fine to go for a pencil and whatever paper and eraser you have. All that matters is that you’re willing to learn how to draw a deer!
Check out how we drew the BIOWARS comic book protagonists!
How To Draw A Deer In 7 Steps
The easiest way to learn how to draw a deer is to sketch its body parts one by one.
1. Draw The Base Of The Deer’s Body
Recommended tool: H pencil
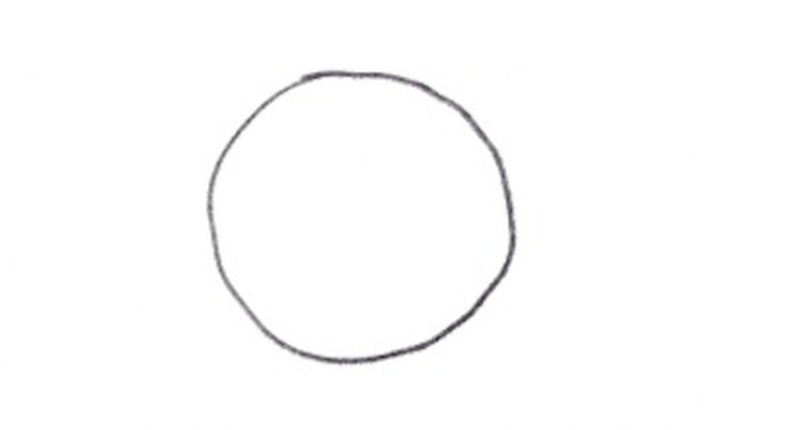
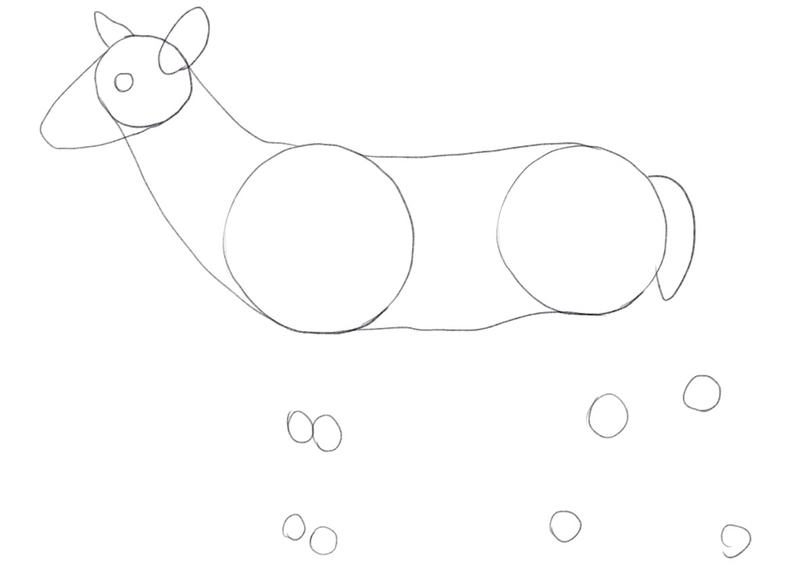
Start your deer drawing by sketching a medium-sized circle.
We’ll draw a deer with its head turned to the left, so we’ll leave more room on the right side for the rest of its body.
Oh, and make sure there’s enough space above the circle for the antlers!
Use geometrical shapes to outline the deer’s body.
Next, let’s add two more circles below the head — one for the chest and belly and the other for the deer’s backside.
Make sure the middle circle is larger than the one in the back because the deer’s chest is wider than its backside:
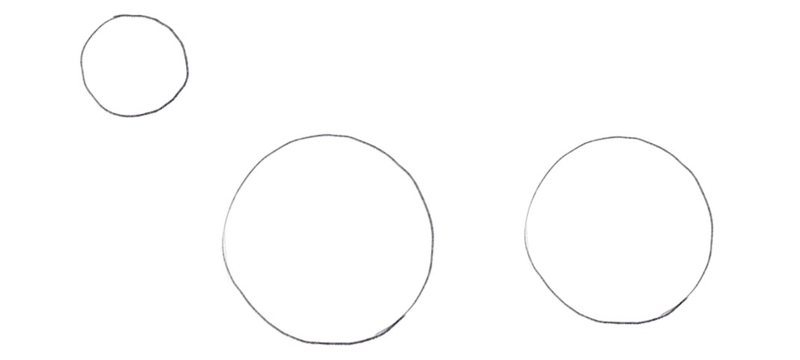
Continue adding circles to define the deer’s body.
2. Outline The Deer’s Upper Body
Recommended tool: H pencil
Once the circles are in place, we can sketch the deer’s head and its neck.
To do so, let’s start from the top circle.
We want to extend it to the left by adding a curved line and pointing it to the left.
Then, let’s connect the head with the middle circle using two thin lines, like so:
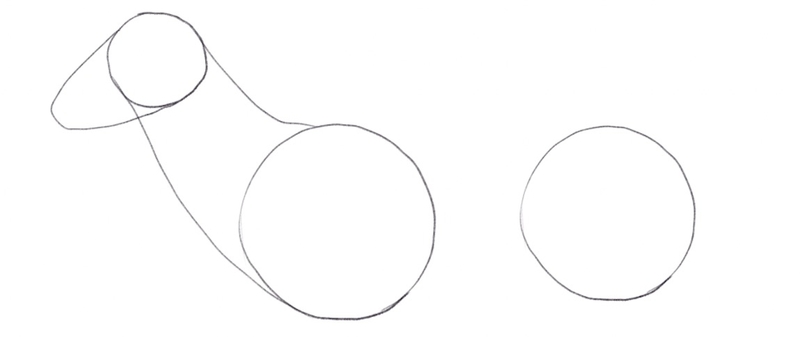
Connecting circles will help you outline the parts of the deer’s body.
Next up, it’s time to connect the middle and back circles to form the deer’s belly, chest and back:

At this point, your sketch probably resembles a dachshund dog, but not for long!
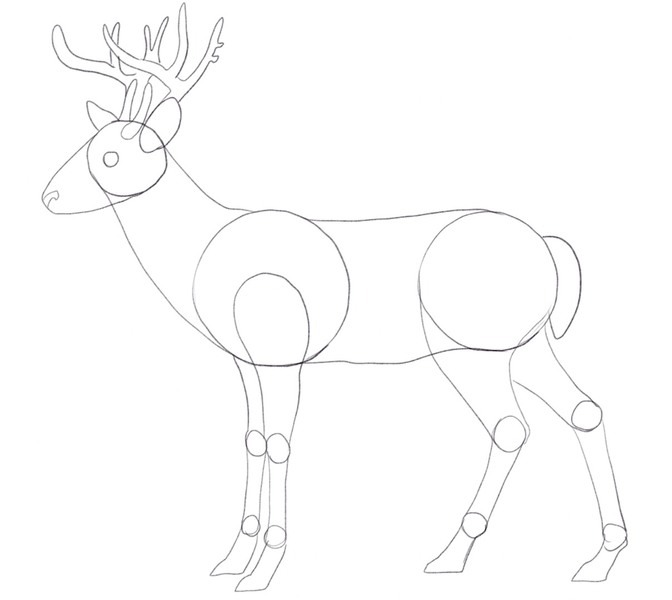
3. Draw The Eyes, Ears And Tail
Recommended tool: H pencil
At this point, we can start adding the details to the deer drawing.
Let’s draw an eye first; simply sketch a tiny circle inside the head’s outline.
Then, add the ears.
Lastly, sketch the tail and make sure not to make it too long because deer have short tails with a white underside.
And don’t worry about drawing perfectly shaped body parts — not even our resident illustrator is concerned with perfection:
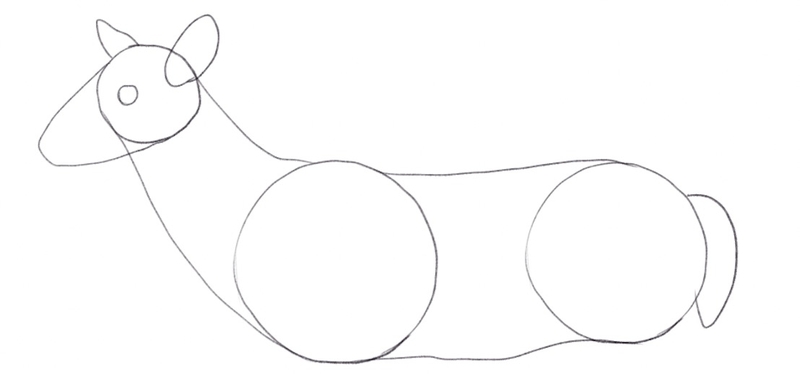
Let’s start adding details to the sketch.
4. Draw The Legs
Recommended tool: H pencil
To draw the deer’s legs, it’s best if we first sketch small circles to define the length as well as the position of the joints and hooves:
Geometrical shapes are of great help when defining the size of deer’s body parts.
Now our job’s a lot easier — we just have to connect the circles to one another and to the rest of the deer’s body to form the legs, like this:
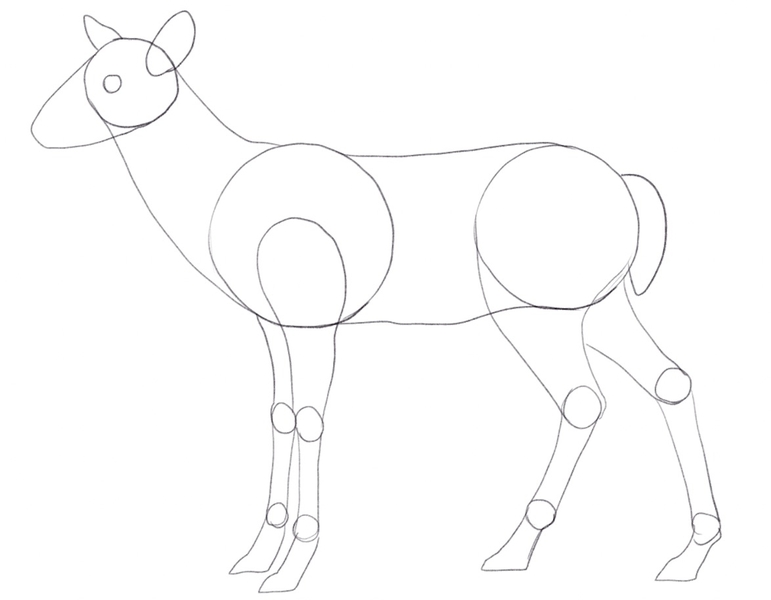
The deer is slowly starting to take shape!
5. Draw The Antlers
Recommended tool: H pencil
With the rest of the deer’s body outlined, it’s time to start drawing its glorious antlers!
We’ll start slow — let’s sketch two small horn-like shapes at the top of the deer’s head, like this:
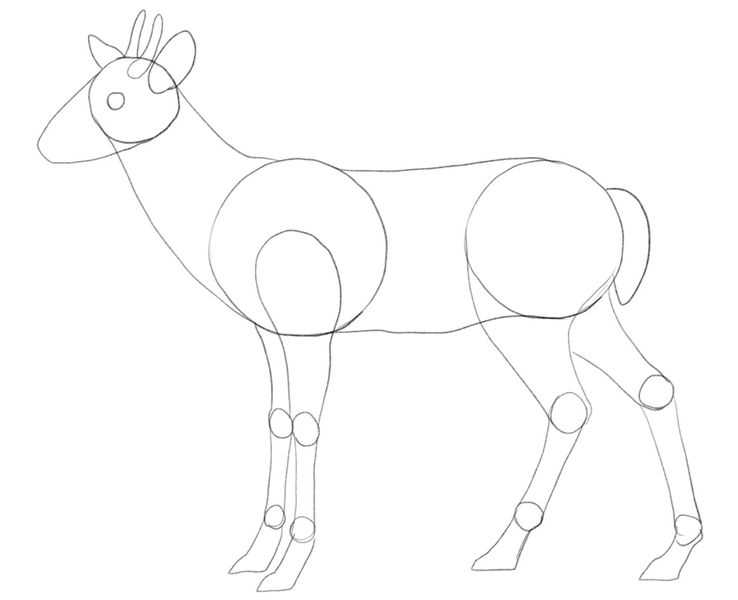
The easiest way to draw the antlers is to sketch them in step-by-step.
Then, draw the antler on the left by sketching branches and connecting them with stems, like so:
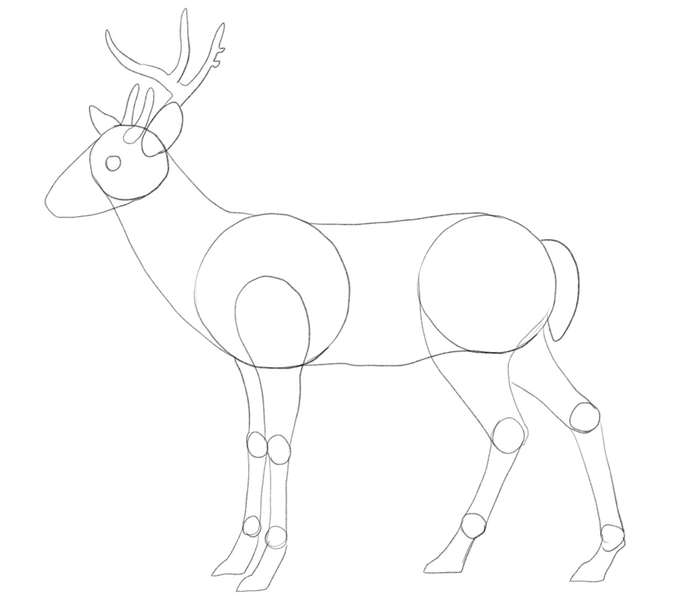
Outline the antler on one side by sketching several short branches.
Then, do the same on the other side, like so:
The deer outline is now finished!
6. Add The Details
Recommended tool: HB pencil
Once the outline is ready, you can switch to an H pencil or apply more pressure to your pencil of choice to enhance the lines and add some more details to your deer drawing.
Let’s start from the ears and the head:
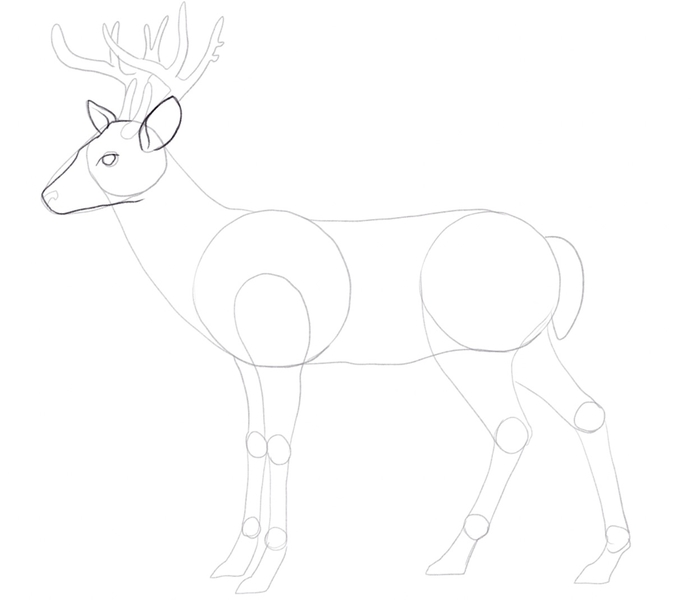
Time to add some finishing touches to your deer drawing!
Continue enhancing the other lines.
You can also color the center of the deer’s eye in a grey hue and draw the nose and the mouth on its head.
And since parts of the deer’s body are white, we suggest you mark those areas right now, such as its belly, the underside of its tail and the part around its nose and mouth:
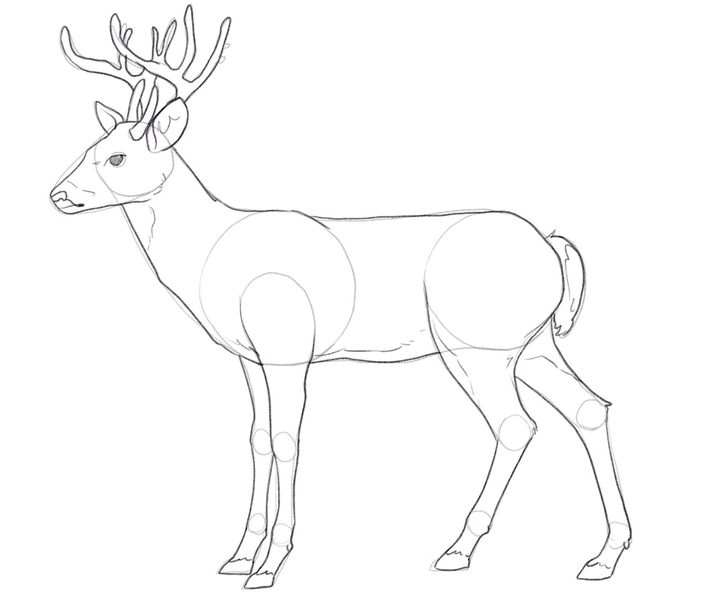
How majestic is your deer sketch already?
7. Erase Unneeded Details & Shade Your Sketch
Recommended tools: HB and 4B pencils, kneaded eraser
To finalize your sketch, color the deer’s body in a lighter shade of grey.
Next, let’s make the tip of its nose darker with a 4B pencil (or add more pressure to the pencil you’re using) and some shade under the chin and on its right legs, like this:
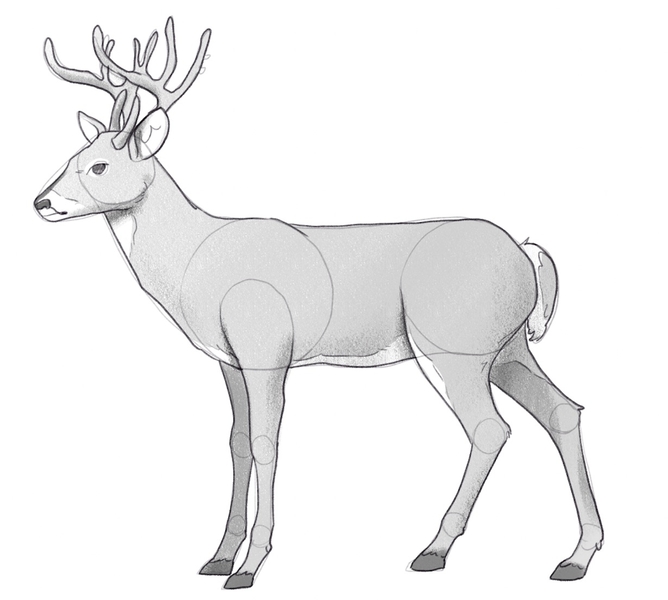
Shading helps you bring your deer drawing to life!
Lastly, use your eraser to remove the guidelines.
And here’s what the finished deer drawing looks like:
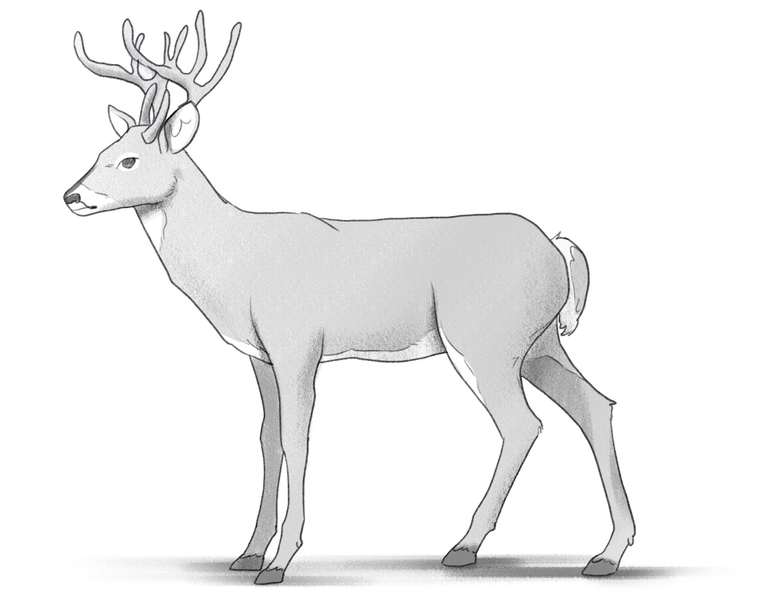
That’s a wrap on learning how to draw a deer!
Follow us on Instagram for more drawing tips and the latest BIOWARS updates!
Finished Your Deer Drawing? Try These Next!
Learning how to draw a deer was fun, wasn’t it?
If you’d like to learn how to draw other animals, explore more of our guides, including:
- How to draw a dragon
- How to draw a fish
- How to draw a unicorn
- How to draw a penguin
- How to draw a dolphin
- How to draw a bat
- How to draw a butterfly
- How to draw a wolf
- How to draw a bunny
- How to draw a horse
- How to draw a cat
- How to draw a dog
- How to draw a frog
- How to draw a shark
We also have several guides on how to draw landscape images, which could come in handy if you want to enrich the environment surrounding the deer:
And in case you want to hone your skills further and learn how to draw people, we have several tutorials that could be of help:
- How to draw a face
- How to draw eyes
- How to draw a person
- How to draw a nose
- How to draw a mouth
- How to draw hands
- How to draw ears
Check out more of our helpful art tutorials and keep practicing!
You can also find a lot of drawing tutorials on our YouTube channel!
Follow our YouTube channel for more art tutorials!
A Recap On How To Draw A Deer
When learning how to draw a deer, the most important thing to do is sketch its body parts one by one.
You can use circles to define the size of the deer’s body and then connect them into a cohesive whole with thin lines.
Once you’re happy with how your outline looks, you can start adding more details, such as the antlers, and then shade your sketch.
Remember to take your time and don’t rush anything.
With practice and patience, you can develop your skills and create a stunning deer drawing with ease!
When you finish, be sure to send us your drawings — we’d love to see them! And let us know in the comments below if you enjoyed learning how to draw a deer!